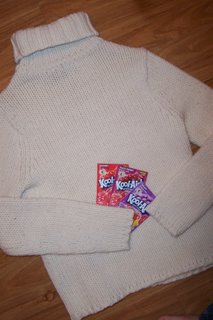
This is my own personal tutorial/experience with Kool-Aid dyeing. I have been wanting to do this for a long time after seeing this on craftster.org. I was waiting until I found a sweater at the thrift store that was white, chunky, wool, and able to unravel!
And yesterday I finally did, and it only cost $2!! The sweater is from the GAP and 50% Wool/50% Acrylic.
For dyeing with Kool-aid 100% animal fiber works the best according to the directions, but I'll get back to that in a minute.
To determine if a sweater can be unraveled into a continuous useful amount of yarn you must look at the seams. They should be able to be pulled apart and the thinner thread holding it together can be cut. If the thread is wound around the seam, then that's a negative. You may want to Google yarn recycling for more detailed instructions on the correct type of seams. 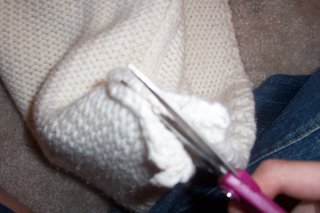
Once you get all the seams cut, I did the front of the sweater first. Start to unravel!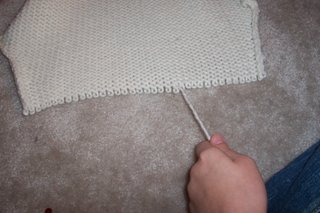
This part is pretty fun. I suggest winding around something as you go. And if you don't plan on dyeing it and love its natural color, wind into a ball as you go. Okay this process of unraveling was extremely exciting for Frida.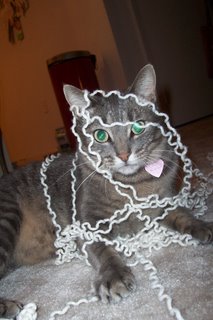
Next is the fun part: Dyeing! I followed the crafster tutorial (loosely).
1. Start by soaking the yarn in hot tap water & about 2 tbsp. vinegar (lemon juice can be substituted). Soak for about 30 mins. My second batch didn't soak as long, because I was too anxious.
2. Ring out the wet yarn. Take an old towel & sqeeze out the rest of water.
3. Put into microwaveable bowl or dish. I used a Pyrex casserole dish that fit into our microwave.
4. Mix 6 oz. water per one packet Kool-Aid and 2 tbsp. vinegar. Mix it up real nicely. I did this in a measureing cup for easy pouring. (I did one color at a time).
5. Pour color mixture over yarn as you like it. If you want an even color use several of the same color packets. I used 3 on my first batch, and 4 on my second. For the amount of yarn I used, I liked the color of 4 packets better.
6. Microwave on high in 2 minute intervals. You know its done when the water at the bottom of the dish is clear! Its like magic. It will probably take 6-8 minutes. (The crafster tutorial said to cover dish with clear plastic wrap with holes. I didn't have plastic wrap, so I didn't)
7. Its hot so be careful! Ring out and roll in towel again. NO color came off on my towel!
8. Hang to dry and try to be patient.
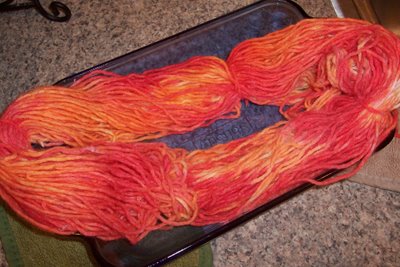
Here's my second batch right out of the microwave. Made with 2 packets Orange & 2 packets Cherry. I poured each color mixture one at a time for fun color effects.
The next morning on our balcony. The hank on the left was my first attempt. I don't like it as much. It was the result of black cherry, cherry, and grape. Particularly the grape I did not like, I think it came out kinda weird and too dark.
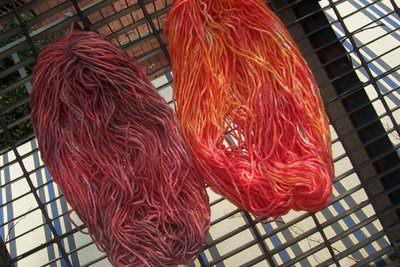
I was relieved that the dye set in the 50% wool, since acrylic does not and the colors are nice and bright too. If 100% wool (or other animal fiber) is used, you can expect a brighter dye job.
I had so much fun making the first batch that I dragged Chris to the grocery store last night to buy more Kool-Aid. I really wanted to try blue & green but they didn't have those flavors at the grocery store I went to last night. I still have the 2 sleeves to unravel, so I will grab some blue & green next time I go to Wal-Mart.